
Custom Laser Engraving Laminate: Factory Secrets for Perfect Personalization
2026-06-09
Ever wondered how factories achieve flawless custom laser engraving on laminate without compromising quality? At LYSHIRE, we're pulling back the curtain on the precise techniques and hidden secrets that turn ordinary laminate into perfectly personalized masterpieces—and how you can leverage them for your next project.
The hidden cost of cheap laminate nobody talks about
That bargain laminate might save you a few hundred upfront, but the real expense starts when you notice the corners chipping after six months. Cheap laminate uses a paper-thin wear layer that scratches under chair legs and fades in sunlight, leaving a floor that looks worn out long before you’d expect. You’ll end up tiptoeing around it or covering it with rugs, which isn’t exactly the hassle-free solution you signed up for.
What hardly ever makes it onto the packaging is the subfloor nightmare. Budget laminate demands an almost flawless base, and unless your floor is already dead flat, you’re in for leveling compound, additional underlayment, or both. Those click-lock edges are also unforgiving—one misaligned plank and you’ve got gaps that catch dirt and swell with the slightest moisture. Suddenly your DIY savings are eaten up by extra materials and time wasted redoing sections.
Then there’s the long-term sting. Cheaper floors often give off a chemical smell that lingers far longer than you’d imagine, and while everyone talks about formaldehyde, they skip over the fact that these emissions can spike in warmer months. Beyond health concerns, ask yourself how much value a hollow-sounding, plastic-looking floor really adds. When you factor in a lifespan that might be half of a decent option, you’re not just paying twice—you’re dealing with the mess and stress of tearing it out sooner than you think.
Razor-sharp details: dialing in the perfect laser settings
Getting crisp, high-contrast engravings isn't about luck—it's about understanding how speed, power, and frequency interact. Dialing in the perfect laser settings means treating each material as its own puzzle. Wood, acrylic, leather, and coated metals all absorb light differently, and that sweet spot where the beam vaporizes just enough material without scorching or melting is narrower than most people think. Start with a simple test grid: vary the speed and power in small increments, and watch how the edges change. A slightly slower pass at lower power can often produce sharper lines than a fast, high-power blast that leaves fuzzy, heat-affected zones.
Focus is another often-overlooked variable. Even a fraction of a millimeter off the focal point can turn a razor-sharp line into a blurry mess. Most machines have a fixed focal length, but materials are rarely perfectly flat—warped plywood or uneven sheets demand a manual check. Use the ramp test: engrave a thin line while gradually raising or lowering the bed to find where the line is thinnest. That’s your true focal distance. Don’t trust the manufacturer’s sticker; temperature and lens wear can shift it slightly over time. Once locked in, you’ll see details pop with almost photographic clarity.
Finally, the digital side matters just as much. Resolution and scan gap settings in your software control how densely the laser scans. For fine text and intricate artwork, a scan gap of 0.05 mm or less prevents the dreaded "raster striping" effect. But go too fine and you risk overlapping passes that overburn delicate surfaces. Pair this with proper air assist—a steady, low-pressure stream that clears debris without cooling the spot—and you eliminate the halo of soot that can muddy fine details. It’s a balancing act, but when every parameter clicks, the result is a crisp, tactile mark that feels as precise as it looks.
The pre-engraving prep checklist factories keep quiet
Most people imagine engraving as a simple point-and-shoot operation—load the design, hit start, and watch the machine work its magic. But in professional settings, what happens before the laser ever fires determines whether you get crisp, lasting results or a costly do-over. One of the biggest unspoken steps is what I call the “ghost run”: a dry pass where you send the tool head through the motion without any power, just to confirm alignment and clearance. It’s tedious, but skipping it has ruined more projects than bad materials ever will.
Then there’s the material bake. You’d be surprised how many flaws only show up after a substrate has sat in the same room as the engraver for 24 hours. Wood warps, acrylic off-gases, and metal sweats—none of which you notice if you slice open the packaging and immediately start burning. Factories that deal with high-volume orders never talk about their conditioning shelves, but they almost always exist. It’s the quiet difference between a flawless batch and one riddled with micro-fractures.
The last trick on the hidden checklist gets zero applause: jig-based taping. Instead of manually masking every piece, smart shops build reusable clamping frames that also act as pre-aligned masking templates. When you’re doing a run of hundreds, the time saved isn’t just convenient—it’s the reason they can promise a three-day turnaround without breaking a sweat. None of these steps make it into the marketing brochure, but they’re the bedrock of consistent engraving work.
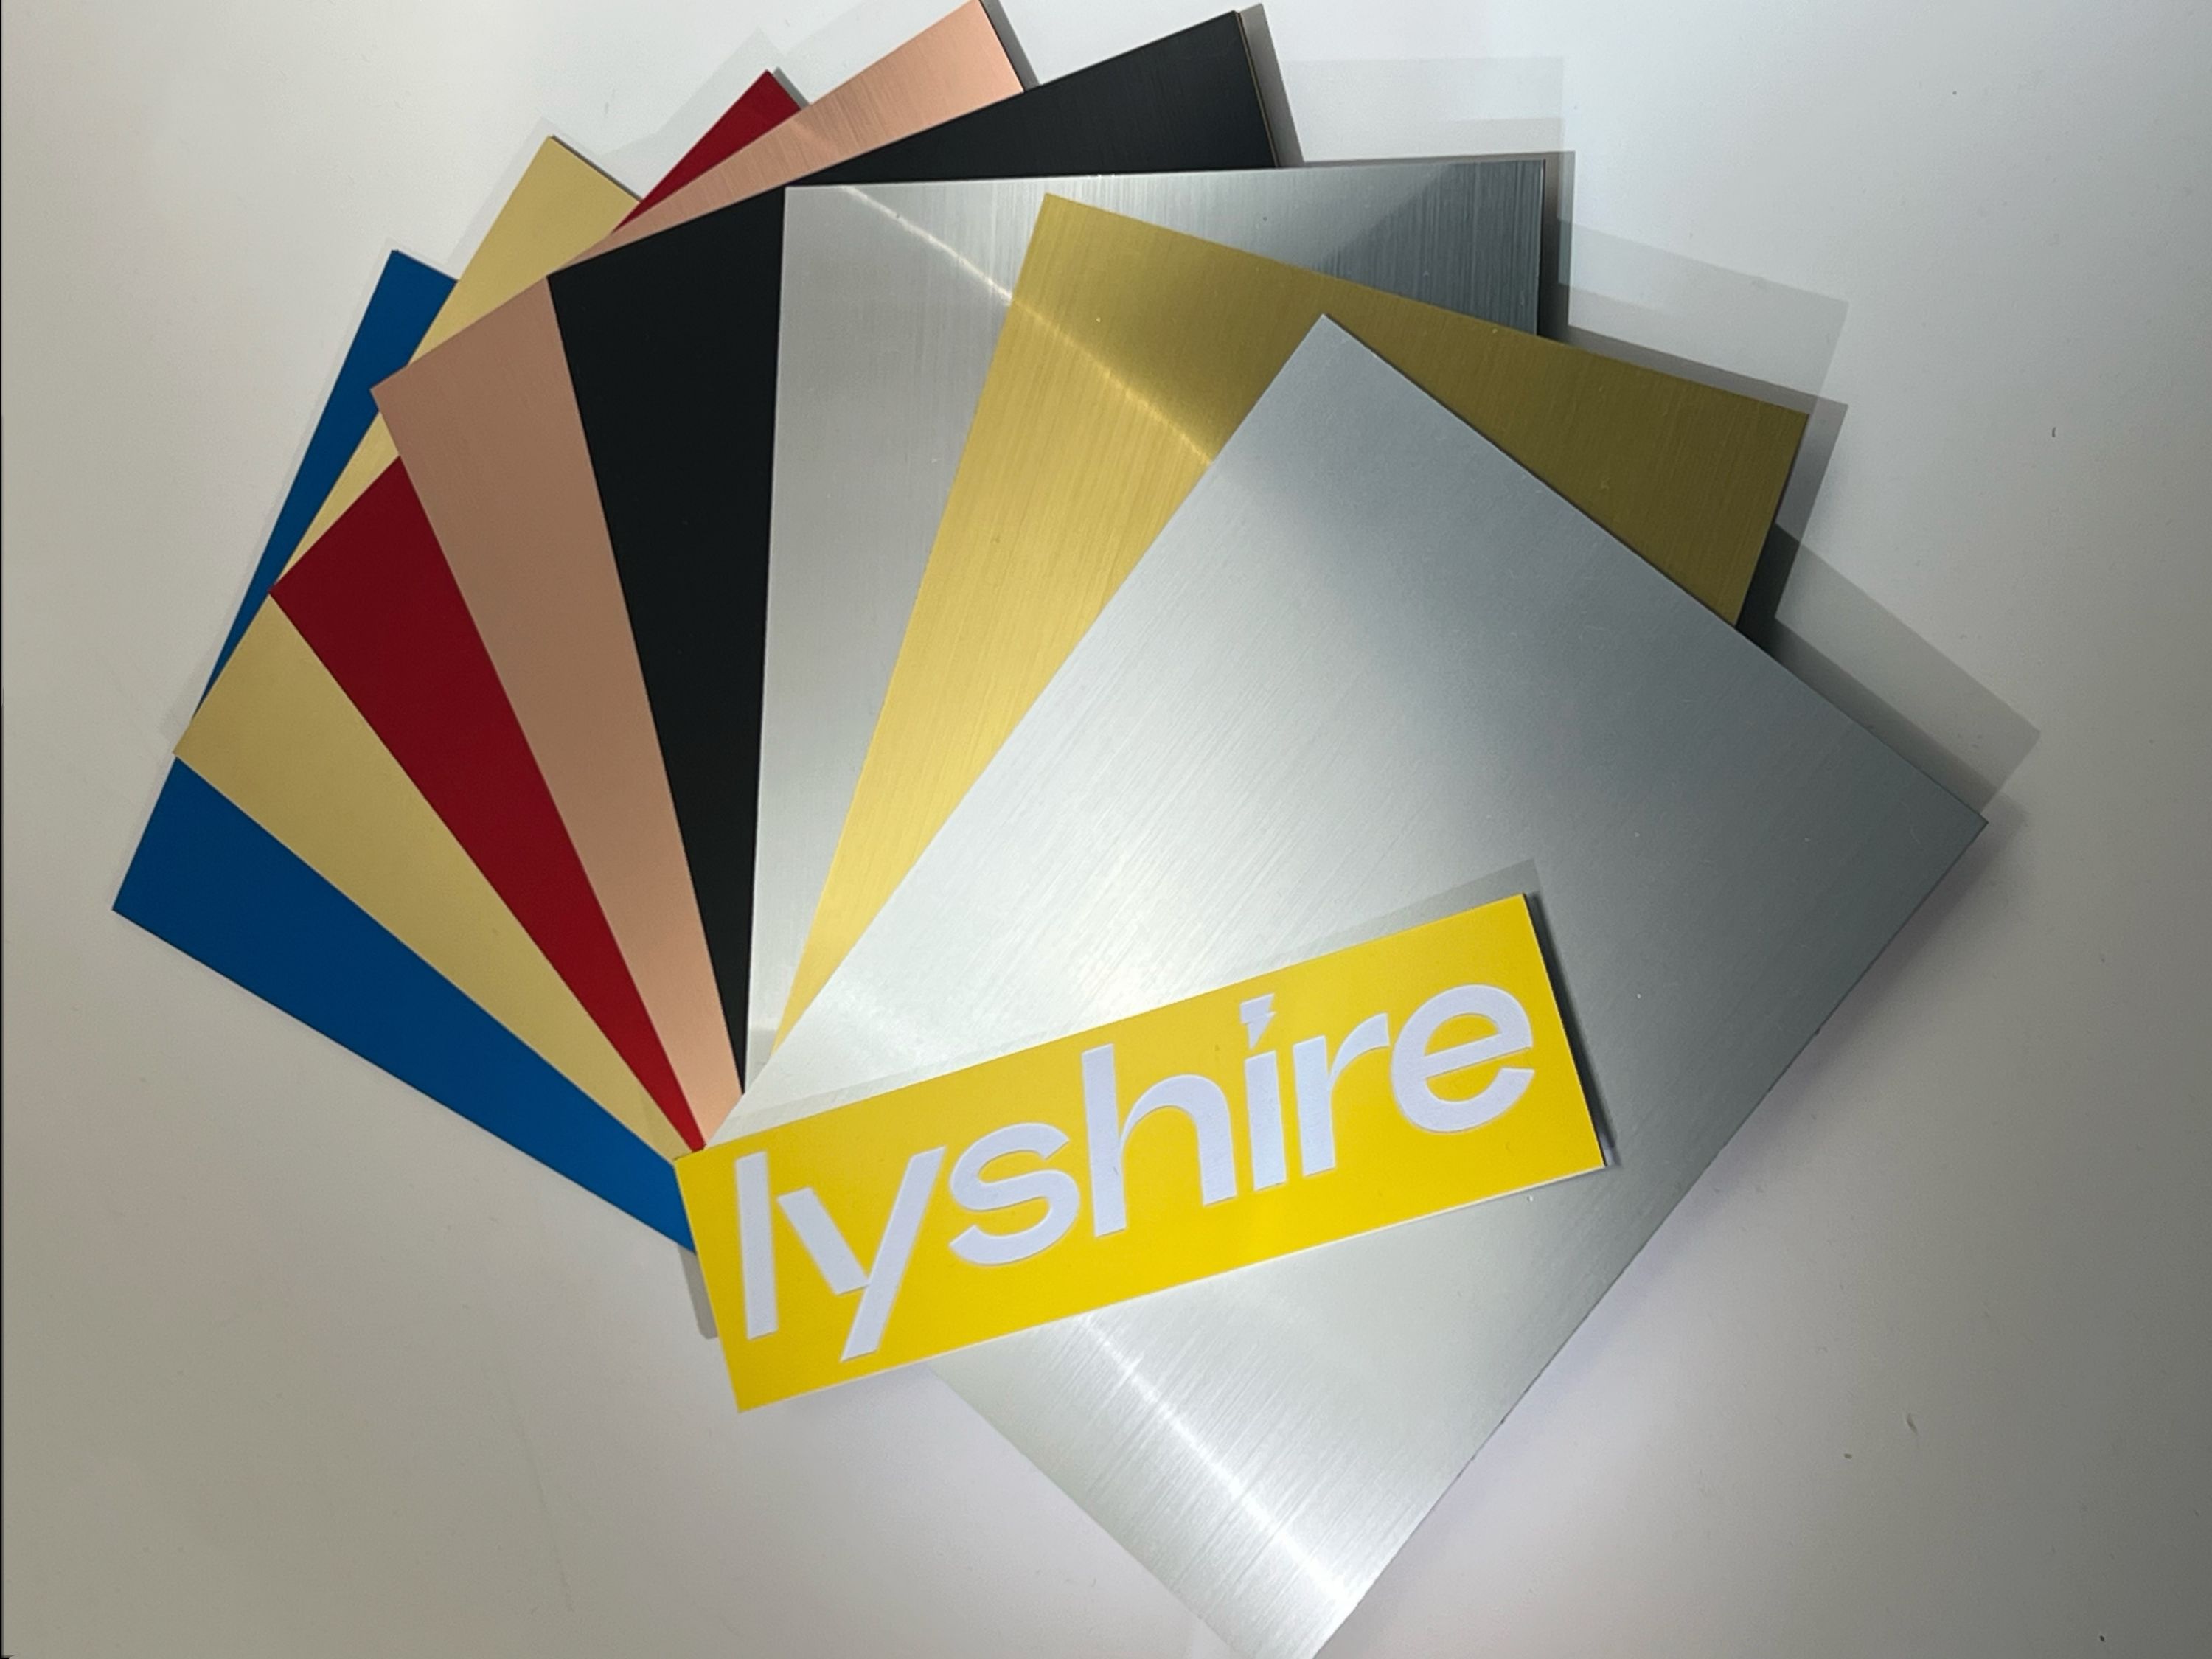
Why your laminate choice makes or breaks the final look
Laminate is more than a surface; it sets the mood. The way light interacts with the texture—whether it’s a soft matte or a glossy mirror finish—can amplify or tone down the entire space. A high-gloss laminate in a small, dim room might feel oppressive, while a woodgrain texture with subtle variation can add warmth without shouting.
Scale and pattern are often overlooked. A busy marble design on a tiny countertop can look chaotic, not luxurious. Conversely, a large, bold pattern on a floor might overpower everything else. The right pattern scale balances the room’s proportions, making the laminate feel intentional rather than an afterthought.
Then there’s the matter of coordination. Even the most stunning laminate can fall flat if it clashes with the surrounding elements. Think about how the undertones—cool grays, warm browns, or beige—play with existing cabinets and walls. A well-chosen laminate pulls the eye in, creating a seamless flow that feels designed, not assembled.
The one finishing trick that makes engravings come alive
It all comes down to deepening the contrast in the cuts. Even the most meticulous lines can look flat until you darken the recesses, so the design pops forward with real dimension. Some swear by a dab of dark wax rubbed firmly into the grooves, while others prefer a gentle wipe of ink or a touch of chemical patina that settles right into the low spots. The magic happens when you remove the excess from the surface, leaving only the depths filled in. Instantly, the pattern stops being subtle scratches and starts telling a story.
What makes this trick so effective is how it plays with light and shadow. Unfilled engravings rely on angled light to be seen, but a darkened line catches the eye from every direction. It gives the piece a tactile quality, as if you could run your finger along the groove and feel the past rising up. And it’s not permanent—you can always clean it out and start fresh, which invites experimentation. Try a soft graphite rub for a metallic shimmer, or a deep walnut ink on brass for an heirloom warmth. That one simple step turns a technical exercise into alive, breathing art.
The customization pitfall even pros stumble into
Customization often starts with enthusiasm—tailoring a product, service, or experience to feel uniquely yours. But the trap? Overcomplicating it. Even seasoned designers and developers get lured into adding layer after layer of tweaks, assuming more options equal greater satisfaction. In reality, excessive customization can paralyze users with choice, muddy the core functionality, and create maintenance nightmares that silently erode quality over time.
Another subtle version of this pitfall is false flexibility: building a system that seems endlessly customizable but only within rigid, unspoken boundaries. When users eventually hit those walls, their frustration is sharper than if they’d faced limitations from the start. True mastery lies in knowing what to leave fixed and what to set free, balancing creative freedom with intuitive guardrails that keep the experience coherent and delightful.
FAQ
The real secret is avoiding textured surfaces. Smooth, matte laminates like Wilsonart or Formica with a solid color core work best. Darker cores under a lighter top layer can produce striking contrast when you engrave just deep enough to reveal the color beneath.
It usually comes down to focus and fume extraction. A slightly out-of-focus beam scatters light across the surface, diluting the edge definition. Meanwhile, poor airflow lets smoke settle back onto the engraving, dulling the crispness. Dial in your focus offset and keep the exhaust pulling strongly right under the lens.
You need to get aggressive with dithering. Standard halftone patterns often look muddy on laminate because the plastic melts unevenly. Use Stucki or Atkinson error diffusion instead, and slow down the engraving speed so each pixel gets enough dwell time to vaporize cleanly rather than just melt. A shorter focal length lens also tightens the spot size.
Yes—pre-heat the sheet. Laminate absorbs moisture, and cold material causes the laser to overcompensate with power, charring the edges. Warming the panel to around 30–40°C before engraving reduces the thermal shock. Also, run a second pass at higher speed and lower power to clean up any residue without adding more heat.
Build a slotted jig that registers the laminate sheet in exactly the same spot every time. Then, design your artwork with clear fiducial marks that the laser operator can quickly align to the jig’s grid. This eliminates per-piece measurement and makes swapping sheets a one-second motion.
It’s not you—it’s the core formulation. Laminate manufacturers tweak their resins and pigments slightly between runs, and these micro-changes affect how the material reacts to laser heat. Keep a small offcut from each batch to test and note any adjustments needed in power or speed. Some shops even pre-condition the entire batch with a light cleaning pass.
Skip the paint pens. Instead, rub in a hard paste wax that’s tinted slightly darker than the engraving. Buff off the excess on the surface, leaving wax only in the recesses. It deepens the contrast naturally and provides a subtle sheen that looks like part of the material itself, not an afterthought.
Conclusion
Struggling with muddy laser engravings on laminate? You’re not alone—most shops hide the real reason: cheap substrate. The porous core in budget laminate soaks up laser energy unevenly, leaving fuzzy edges no amount of tweaking can fix. Factories know this and guard their material specs like gold. They pair high-density, consistent-color laminate with meticulous prep, scrubbing off any oils or debris that ghost into the final etch. Then, they waste sheets dialing in speed and power until the beam just kisses the surface—never deeper—preserving that razor crispness without burning through the top layer.
But even the right material can betray you if the design ignores grain direction or expects a level of contrast the laminate can’t deliver. Pro shops avoid this by running tiny test grids on off-cuts before the real job, mapping exactly how the laser responds to each shade. The finishing touch most miss: a gentle buff with a microabrasive pad to lift residue and amplify depth without glossy glare. It’s that last step that makes text pop off the piece instead of sitting flat. Skip it, and you’re leaving the final 20% of the wow factor on the table—the difference between a personalized gift and a forgettable trinket.
Contact Us
Contact Person: Tina Hou
Email: [email protected]
Tel/WhatsApp: +86 17816238685
Website: https://www.lyshire.com